


How to Install Wall Panels? - A Step-by-Step Guide by Walloro
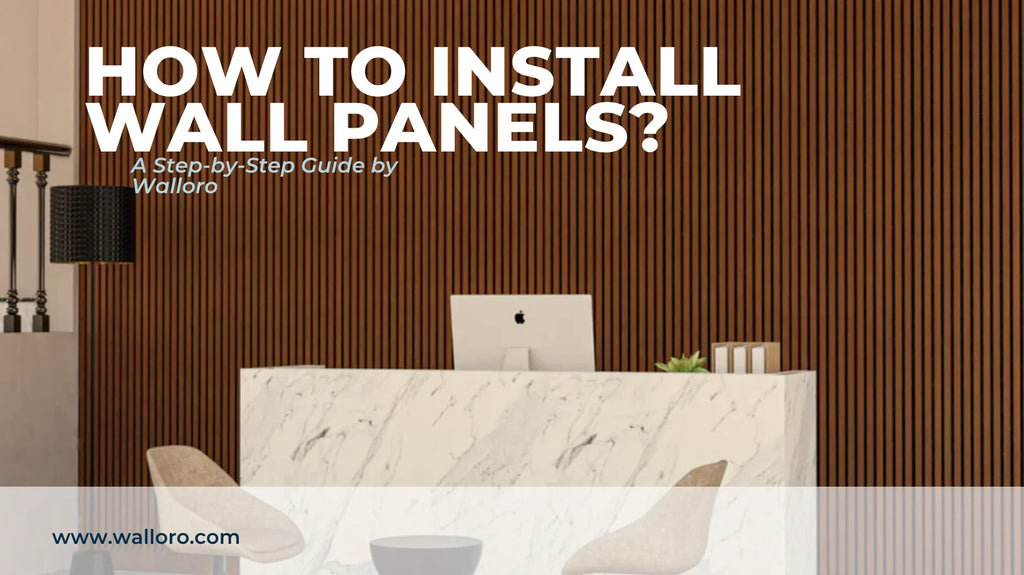
Wall panels have become a game-changer in interior design. Whether you're looking to create a luxurious accent wall, add insulation, or simply upgrade the look of your room, 3D wall panels, wood wall panels, and PVC panels offer affordable and stylish solutions.
In this guide, we’ll walk you through everything you need to know about wall panel installation, from the tools you’ll need to expert tips. And of course, we’ll explain why thousands of homeowners and designers prefer Walloro for their wall panel needs.
What Are Wall Panels?
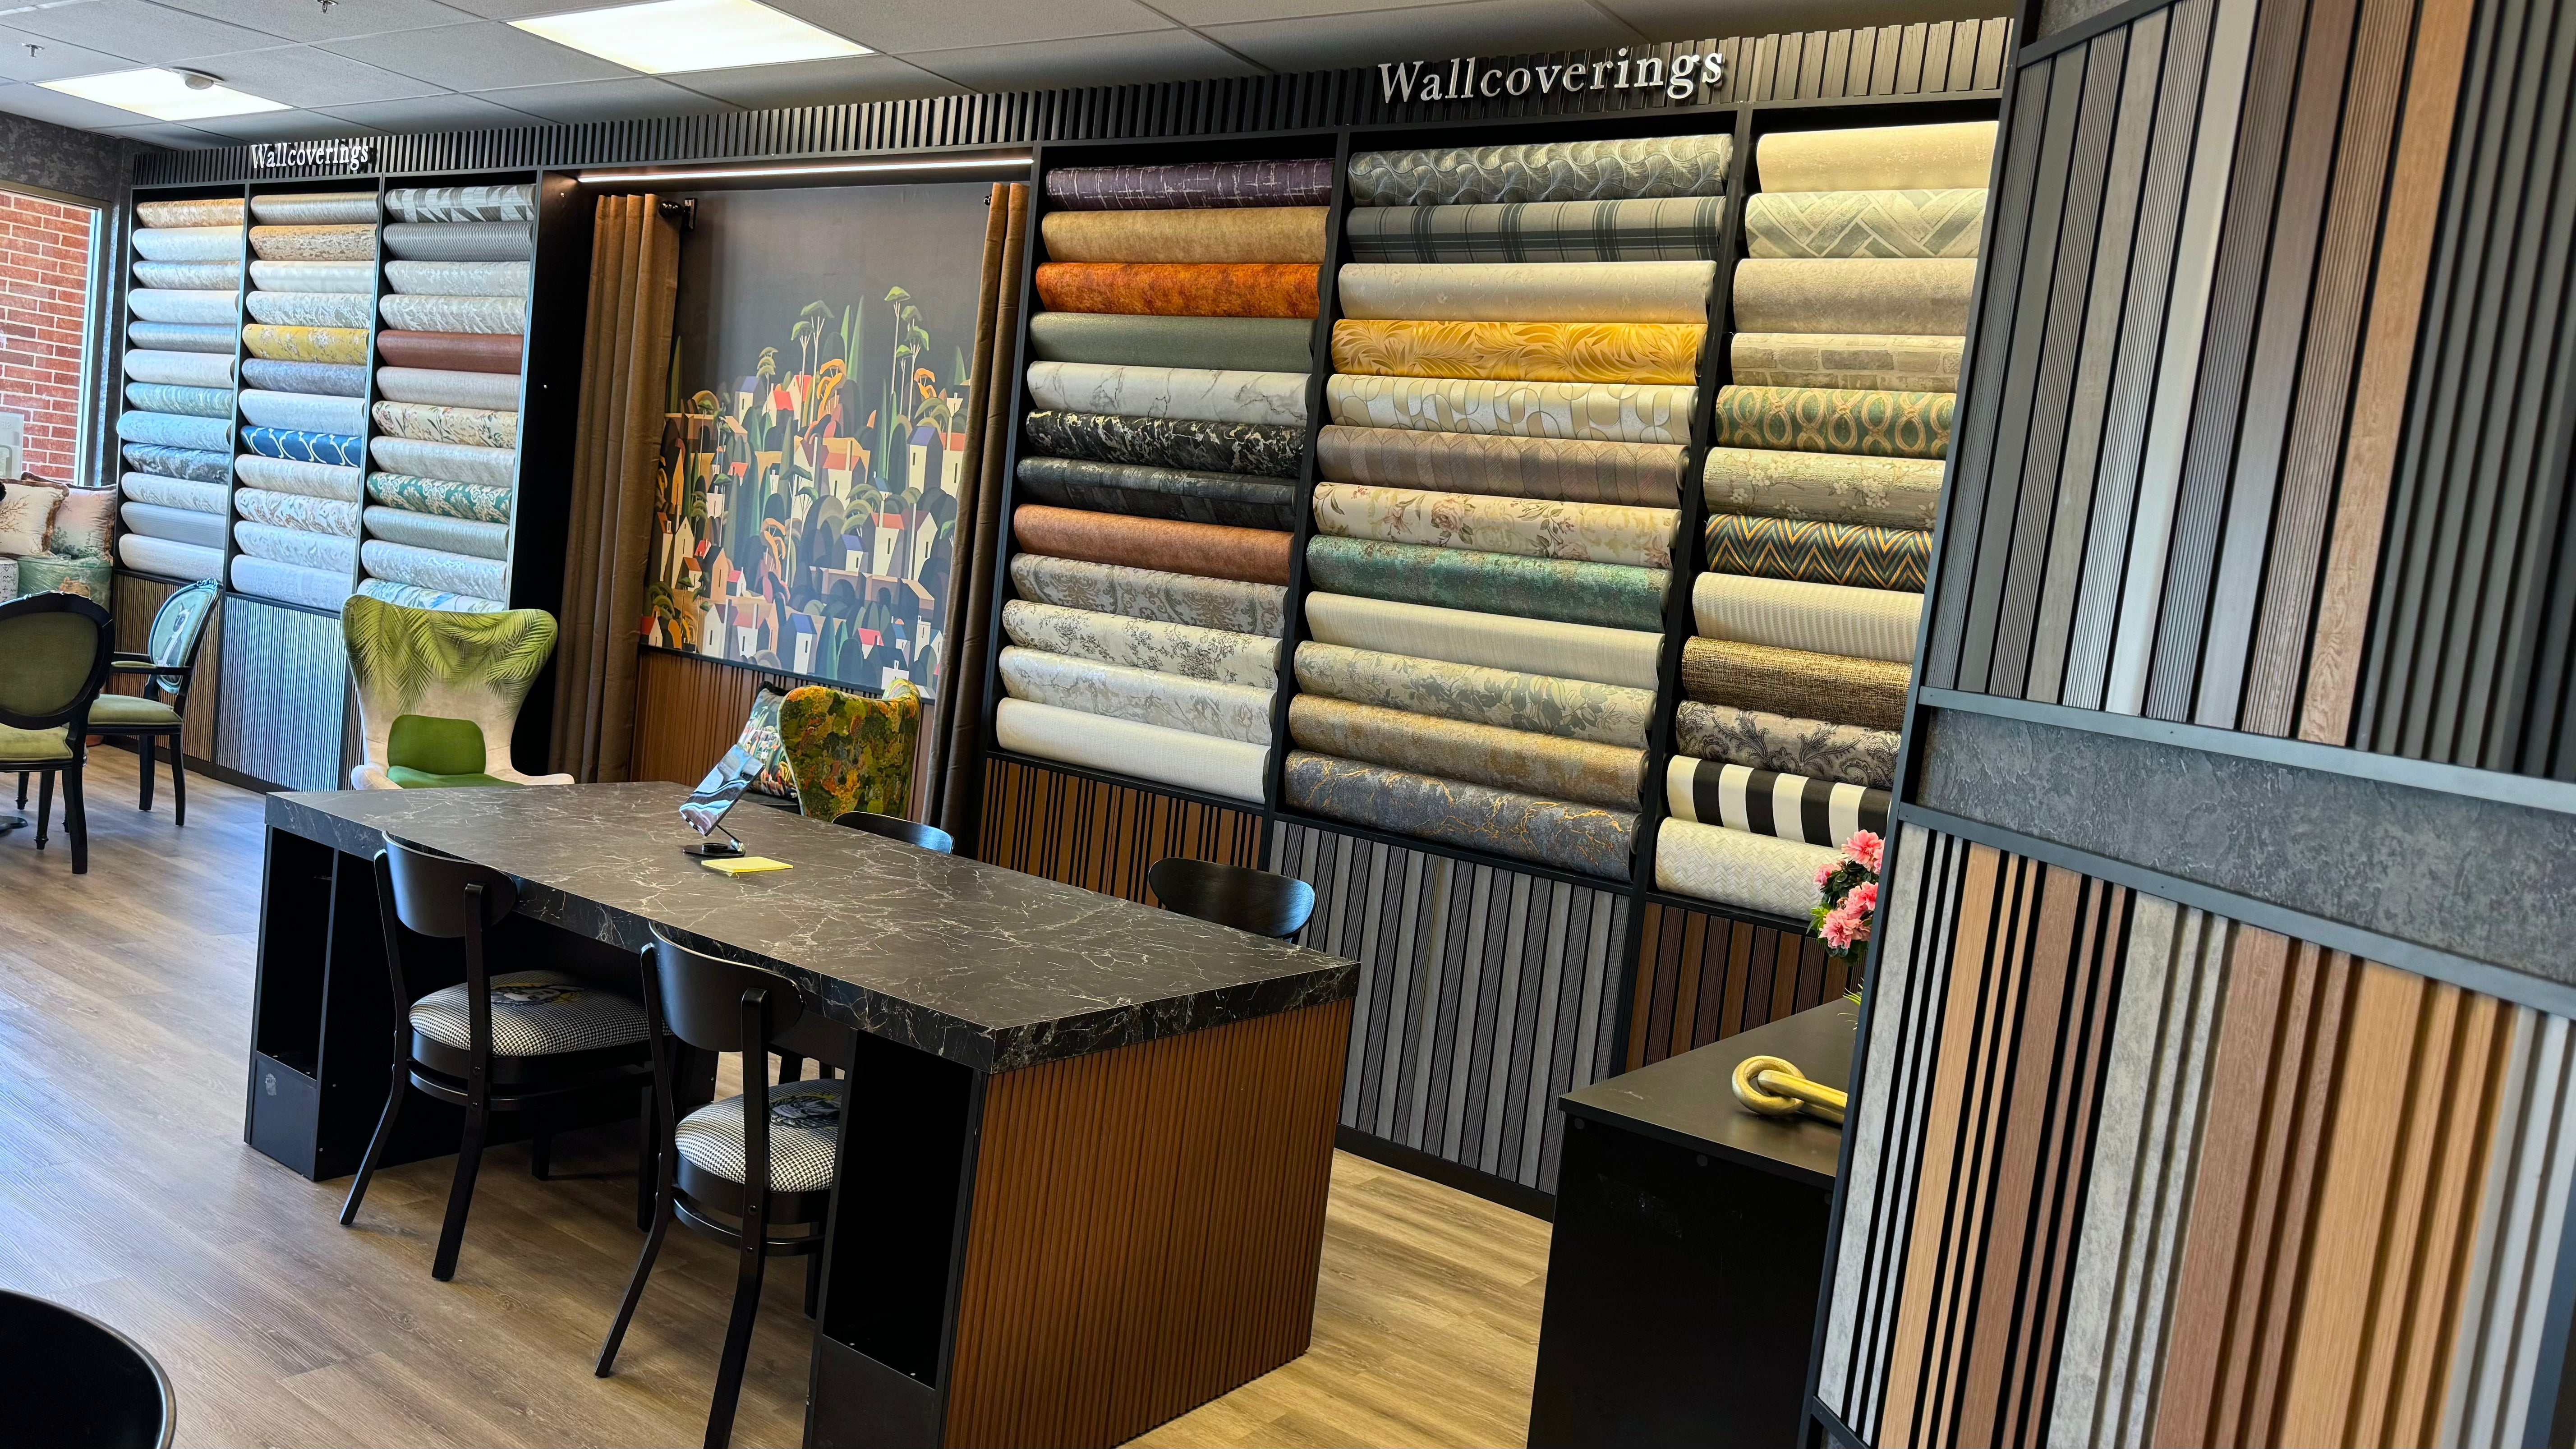
Wall panels are decorative or functional boards applied to interior walls. They come in a variety of styles—such as 3D wall panels, acoustic panels, wood slat panels, and vinyl wall panels—and are used to enhance the look, feel, and function of a space.
Some of the most searched wall panel types include:
-
3D wall panels for living room
-
Wood wall panels
-
PVC wall panels
-
Acoustic wall panels for home office
-
DIY wall panel ideas
Walloro specializes in high-quality wall panel solutions that are easy to install, long-lasting, and stylish.
Why Should You Choose Wall Panels?
Before we jump into the installation process, let’s talk about why people are installing wall panels more than ever.
-
Easy to install: No need for major construction work or messy renovations.
-
Cost-effective: More affordable than other wall treatments like tiles or stone.
-
Stylish: Instantly transform any room with a modern, luxurious finish.
-
Durable: Resistant to moisture, impact, and wear (especially vinyl and PVC panels).
-
Customizable: Available in different textures, colors, and finishes to suit any interior style.
At Walloro, our panels are designed with these exact advantages in mind—making them ideal for both residential and commercial interiors.
Where Can You Install Wall Panels?
Wondering where wall panels work best? These are the most popular rooms people search for:
-
Living Room: A 3D accent wall adds texture and modern style.
-
Bedroom: Wood panels behind the bed create a cozy, sophisticated vibe.
-
Home Office: Acoustic wall panels help reduce noise and improve focus.
-
Hallways: Turn plain walls into elegant transitions between rooms.
-
Commercial Spaces: Ideal for salons, clinics, cafes, and offices.
Walloro wall panels are moisture-resistant, making them even suitable for bathrooms and kitchens (except in wet zones).
Tools You’ll Need for Installation
Installing wall panels doesn’t require heavy machinery. In fact, it’s a great DIY home improvement project. Here’s what you’ll need:
-
Measuring tape
-
Pencil or chalk line
-
Level
-
Utility knife or panel saw
-
Adhesive (construction glue or panel-specific adhesive)
-
Caulking gun (optional)
-
Nails or screws (if needed)
-
Sandpaper (if the surface is rough)
Walloro panels are designed for easy installation, and most homeowners complete the job in a single afternoon.
Step-by-Step Guide to Installing Wall Panels
1. Prepare the Wall Surface
Make sure the wall is clean, dry, and smooth. Remove any dust, nails, or loose paint. Use sandpaper if the surface is uneven.
2. Measure and Plan
Use a measuring tape to calculate the exact area. Mark the layout using a pencil or laser level. Decide the pattern if you're installing 3D wall panels or wood slats.
3. Cut Panels to Fit
If panels are too long or wide, use a panel saw or utility knife to cut them to size. Be sure to wear safety gloves.
4. Apply Adhesive
Apply adhesive to the back of the panel in a zigzag pattern. Use strong construction glue for long-lasting hold. For extra security, add nails or screws to the corners.
5. Press and Hold
Firmly press the panel against the wall. Hold it in place for a few seconds to ensure adhesion. Use a level to check alignment as you go.
6. Fill Gaps (Optional)
Use caulk or filler to smooth out any visible seams or gaps. This is especially helpful for wood wall panels.
7. Finishing Touches
Let the adhesive dry for 24 hours. Once dry, you can paint, seal, or leave the panels as they are—depending on the material.
At Walloro, we recommend using our professional-grade adhesive for best results. Every purchase comes with a simple installation guide.
Walloro's Edge in Wall Panels
Why do homeowners and professionals choose Walloro?
-
Premium Quality Materials: Our panels are crafted for beauty and durability.
-
Fast Shipping: Get your order delivered quickly and safely.
-
Free Samples: Try before you buy—just request a free sample kit.
-
Design Consultation: Not sure what to choose? Our experts will guide you.
-
Eco-Friendly Options: Many of our panels are made from recycled materials.
Visit walloro.com to explore our full collection of interior wall panels and get inspired.


